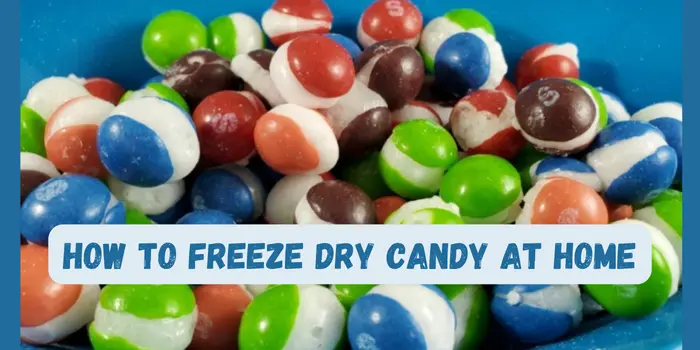
How To Freeze Dry Candy At Home
Do you ever find yourself longing for a taste of childhood memories? Perhaps it’s the memory of that perfectly chewy gummy bear or the satisfying crunch of a freeze-dried chocolate-covered strawberry. Whatever the sweet memory, wouldn’t it be amazing to capture it and enjoy it anytime you wish? Well, you’re in luck because freeze-drying candy at home is easier than you might think!
How To Freeze Dry Candy At Home
Here is the step by step guide about how to freeze dry candy at home very easily:
Step 1: Gather Your Supplies
First things first, let’s gather our tools. You’ll need your favorite candies, a small cooler (or a lined baking sheet), and some dry ice. Don’t worry; these items are more accessible than you might imagine. Your local grocery store or online retailer should have everything you need.
Step 2: Prep Your Candy
Now comes the fun part – selecting your candies! Whether you’re a fan of gummy bears, sour worms, or chocolate-covered treats, the choice is yours. Make sure to pick candies that you absolutely adore because once they’re freeze-dried, they’ll become a treasured treat.
Step 3: Choose Your Method
You have two options for freeze-drying your candy: the dry ice method or the traditional freezer method.
Dry Ice Method: This method is quicker and requires a bit more supervision. Simply place your candies in a small cooler and cover them with dry ice. Seal the cooler tightly and let it work its magic for about two days. It might seem like a long wait, but trust me, the payoff will be worth it!
Freezer Method: If you’re not in a rush, the freezer method is a more relaxed approach. Lay out your candies on a lined baking sheet and pop them into the freezer for at least two weeks. It requires a bit more patience, but the end result will still be deliciously satisfying.
Step 4: Embrace the Wait
Now, I won’t lie to you – waiting for your candy to freeze-dry can be a test of patience. But think of it this way: with each passing hour, the anticipation grows, building up to that moment when you finally get to taste your homemade freeze-dried treats. Trust me, it’s worth the wait!
Step 5: Enjoy the Fruits of Your Labor
Finally, the moment of truth has arrived! Open up your cooler or take out your baking sheet from the freezer and behold your beautifully freeze-dried candies. Take a moment to savor the sight and then indulge in a taste of pure nostalgia.
Remember: Homemade Happiness
While it’s true that professional freeze-dried candy tends to have a slight edge in taste due to the use of specialized equipment, there’s something truly special about homemade treats. They’re infused with love, memories, and a personal touch that you just can’t find in store-bought versions. So, accept the imperfections and love the joy of creating something unique and delicious in your own kitchen. See Also: How To Freeze Dry Candy With a Machine
Conclusion
In conclusion, freeze-drying candy at home is a delightful way to preserve your favorite sweet treats and create lasting memories. So why not give it a try? Gather your supplies, embrace the wait, and enjoy the sweet rewards of your labor. After all, life is too short not to indulge in a little sweetness every now and then!